Appearance
Step 2: Web Installer
Mentor LMS includes a user-friendly web installer that guides you through the setup process. This page walks you through each step of the web installation process.
Installation Steps
Step 1: Server Requirements Check
The installer will check if your server meets all the necessary requirements for running Mentor LMS.
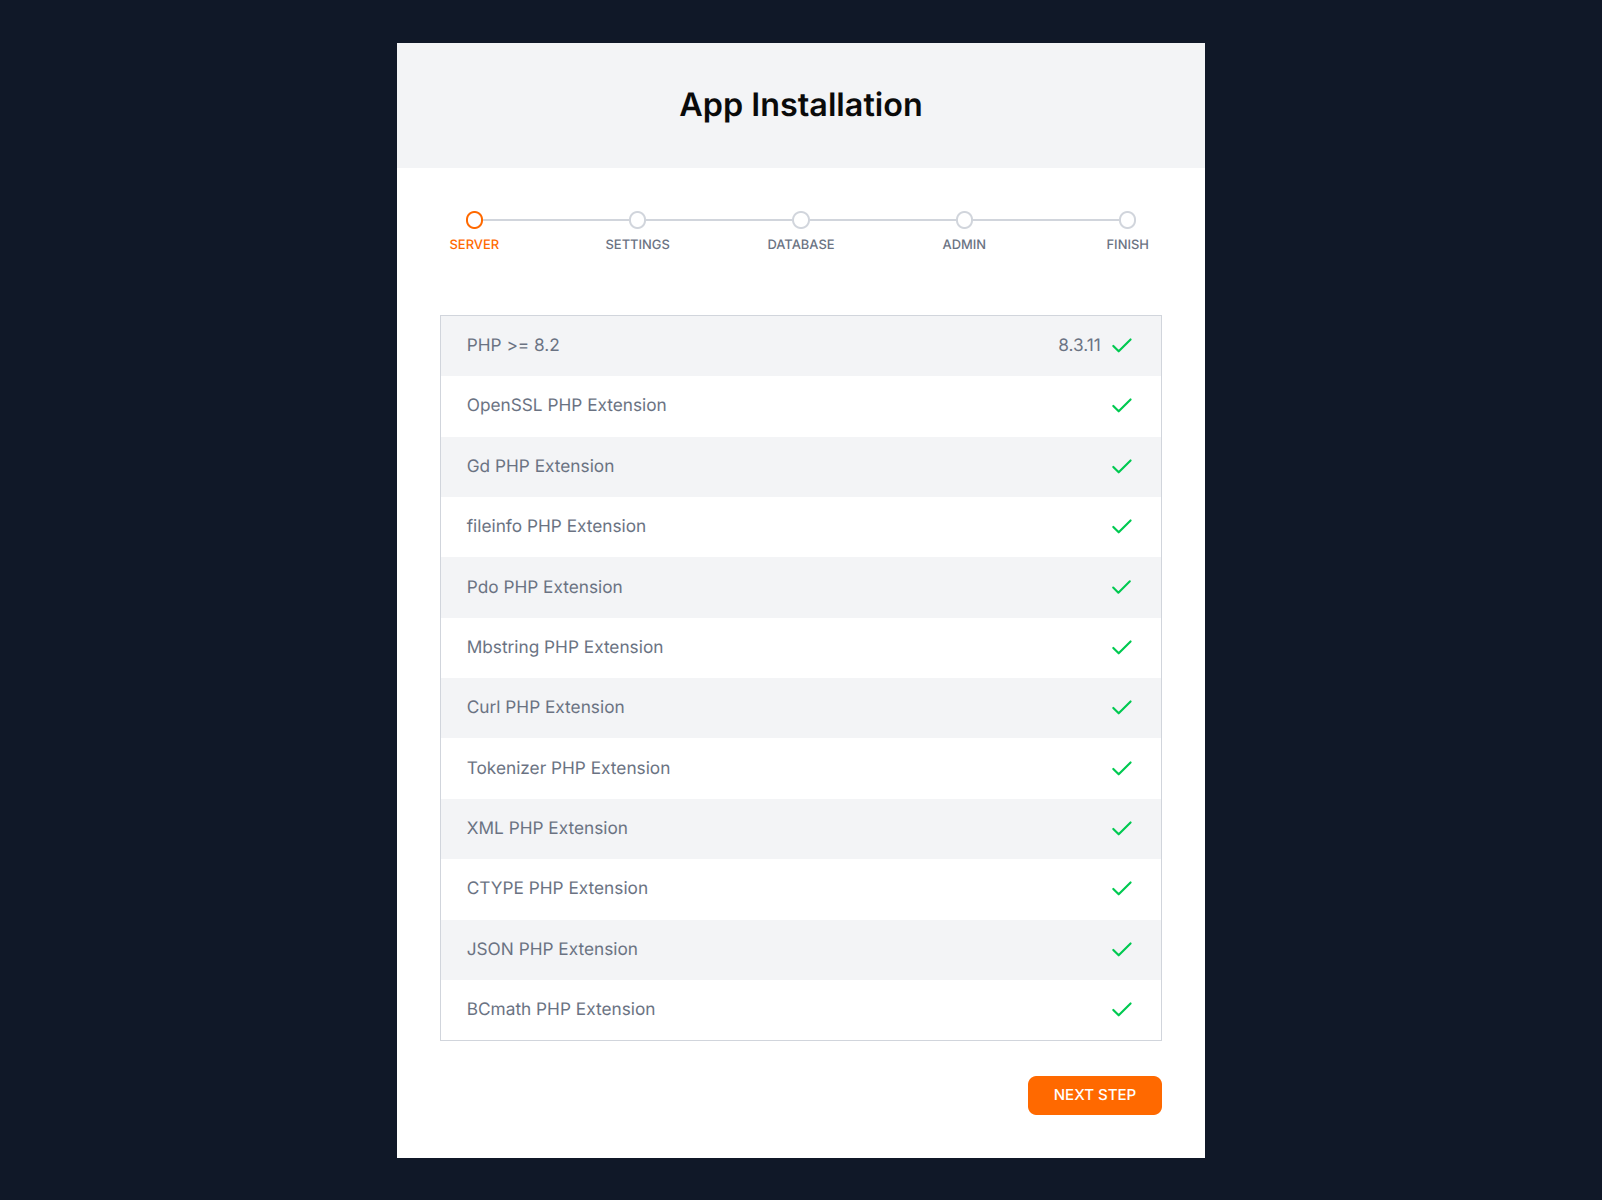
The system will check:
- PHP version
- Required PHP extensions
- Directory permissions
- Server settings
If any requirements are not met, they will be marked in red. You must resolve these issues before proceeding.
Step 2: Application Settings
In this step, you'll configure basic application settings.
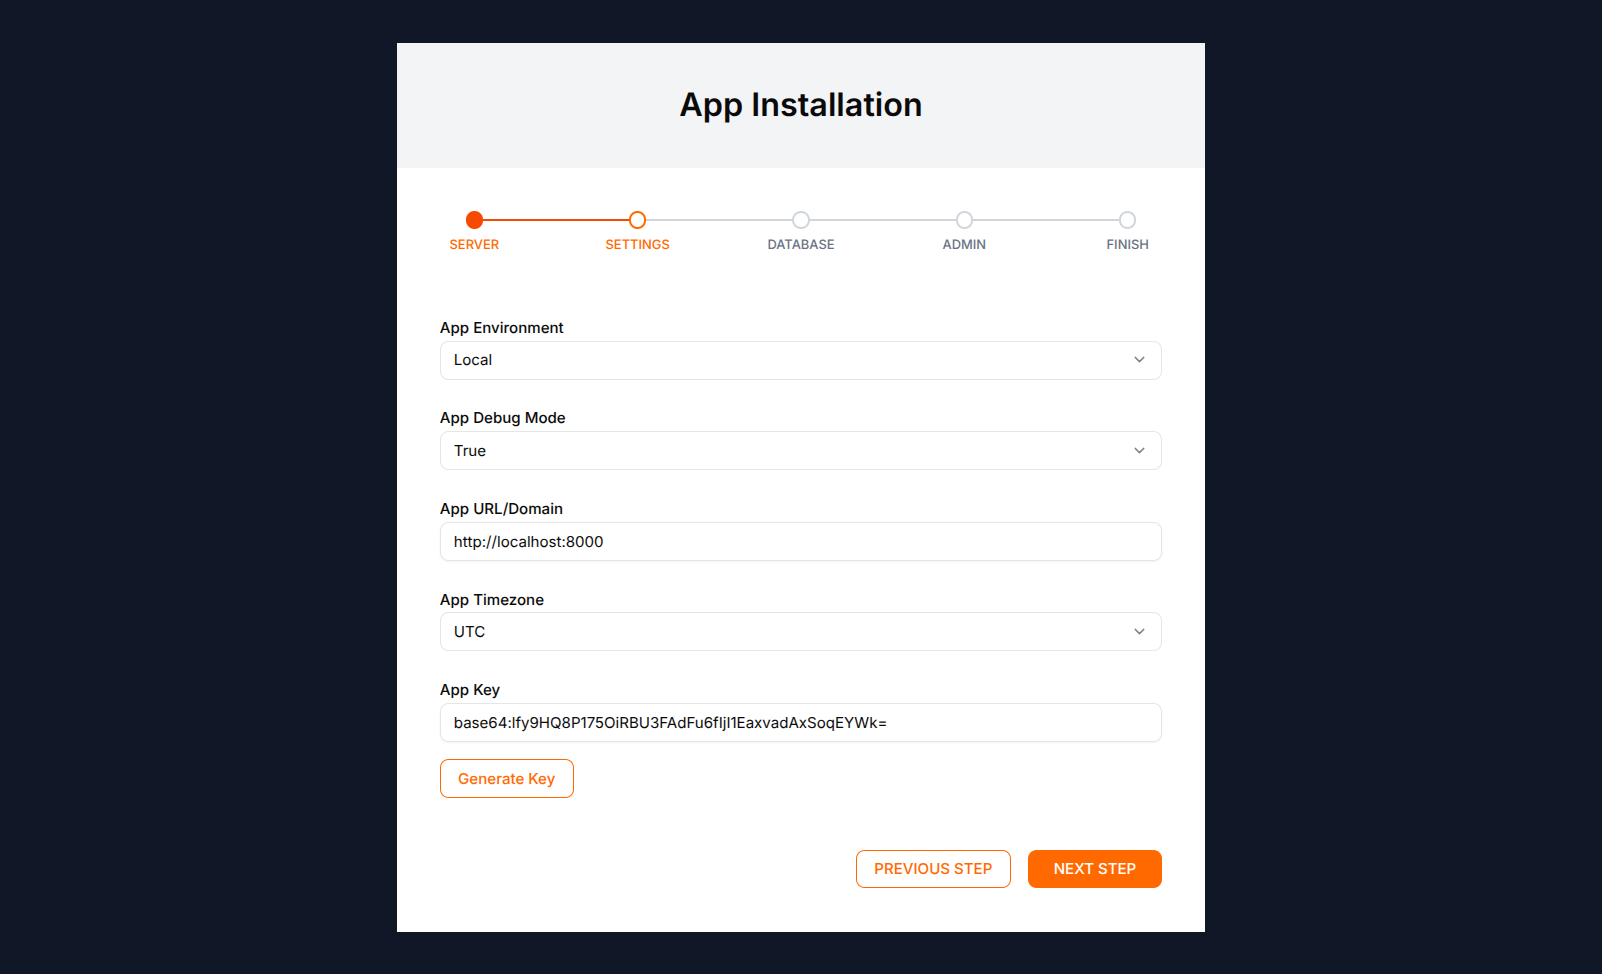
Fill in the following information:
- Application Name: The name of your LMS platform
- Application URL: The full URL where your application will be accessible
- Application Environment: Select "Production" for a live site or "Development" for testing
- Timezone: Select your local timezone
- Purchase Code: Enter the purchase code you received after buying Mentor LMS
The system will verify your purchase code online before proceeding.
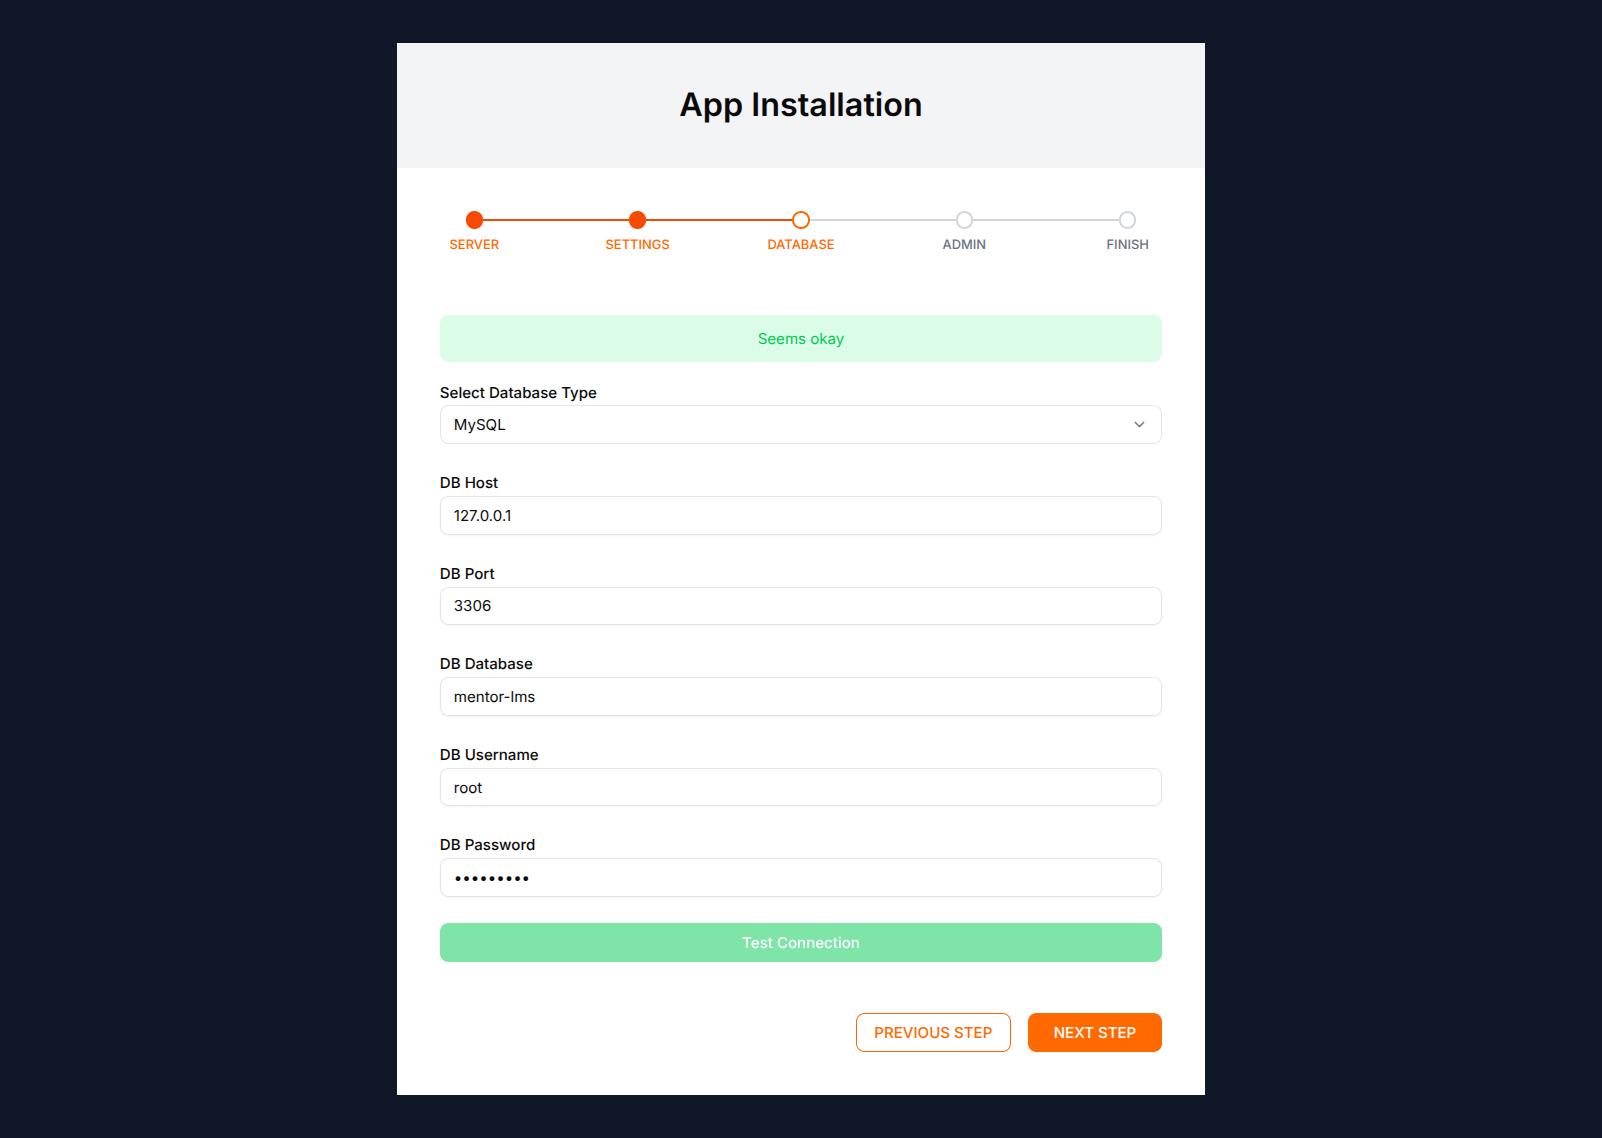
Step 3: Database Configuration
Now you'll connect your database to the application.
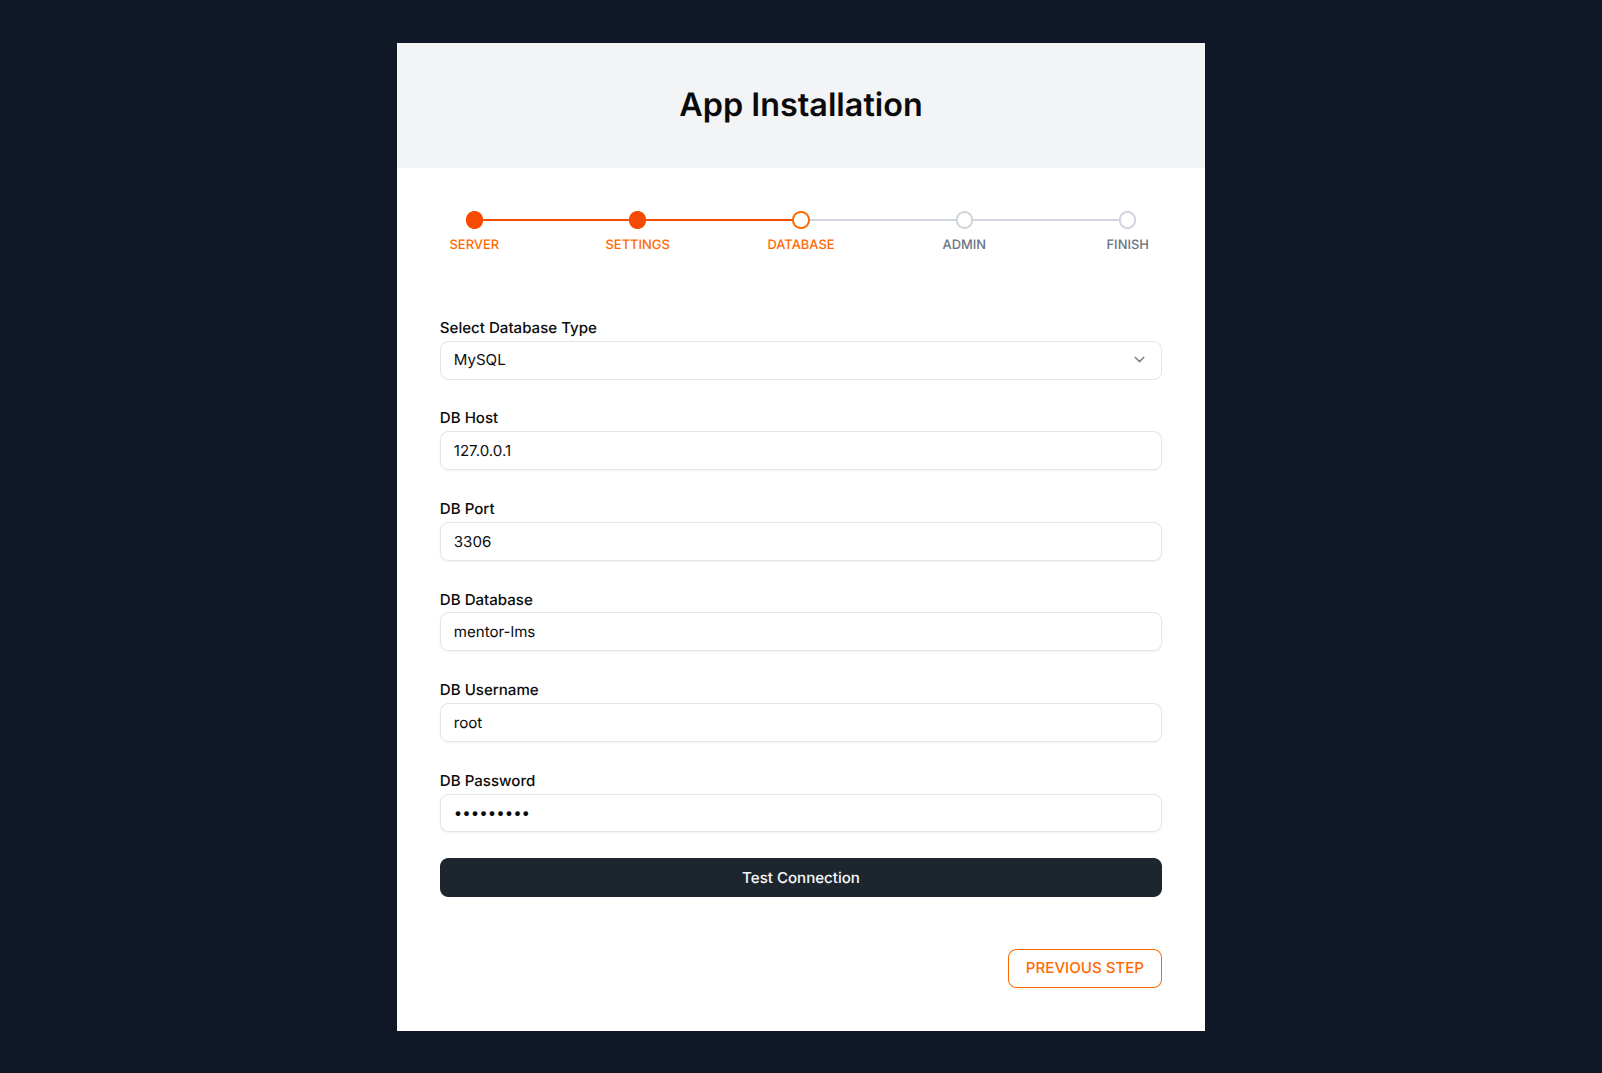
Enter your database details:
- Database Connection: Usually "mysql"
- Database Host: Your database server address (often "localhost")
- Database Port: Usually "3306" for MySQL
- Database Name: The name of the database you created
- Database Username: Username for database access
- Database Password: Password for database access
The installer will test the connection before proceeding.
Step 4: Administrator Account Setup
Create the primary administrator account for managing the LMS.
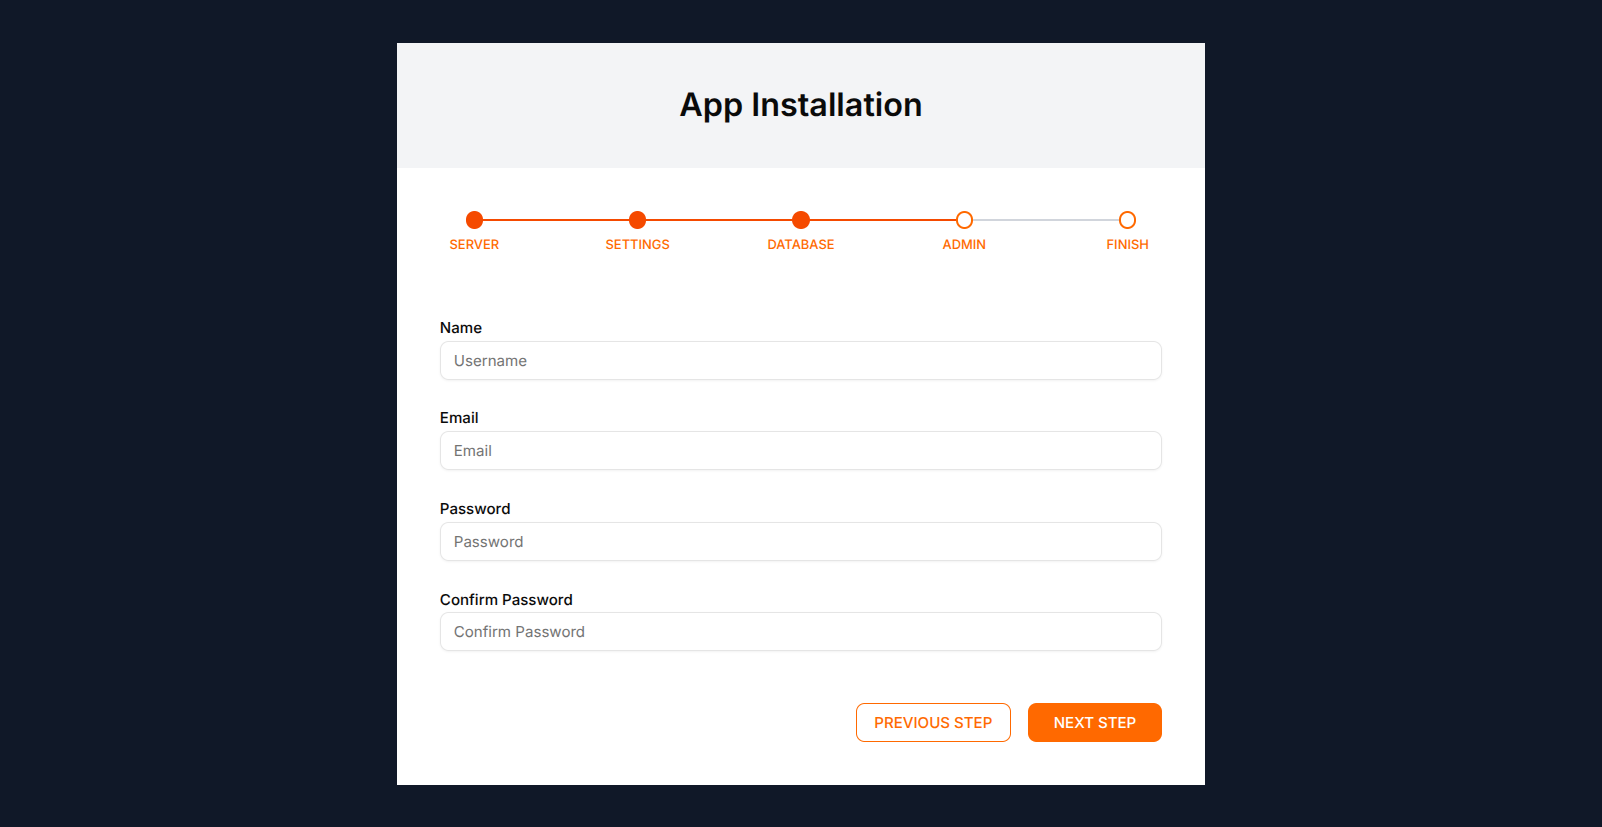
Provide the:
- Admin Name: Your full name
- Admin Email: Your email address (used for login)
- Admin Password: Create a secure password
- Confirm Password: Re-enter your password
Step 5: Installation Complete
The final screen confirms the successful installation of Mentor LMS. On this screen, you'll select the platform mode:
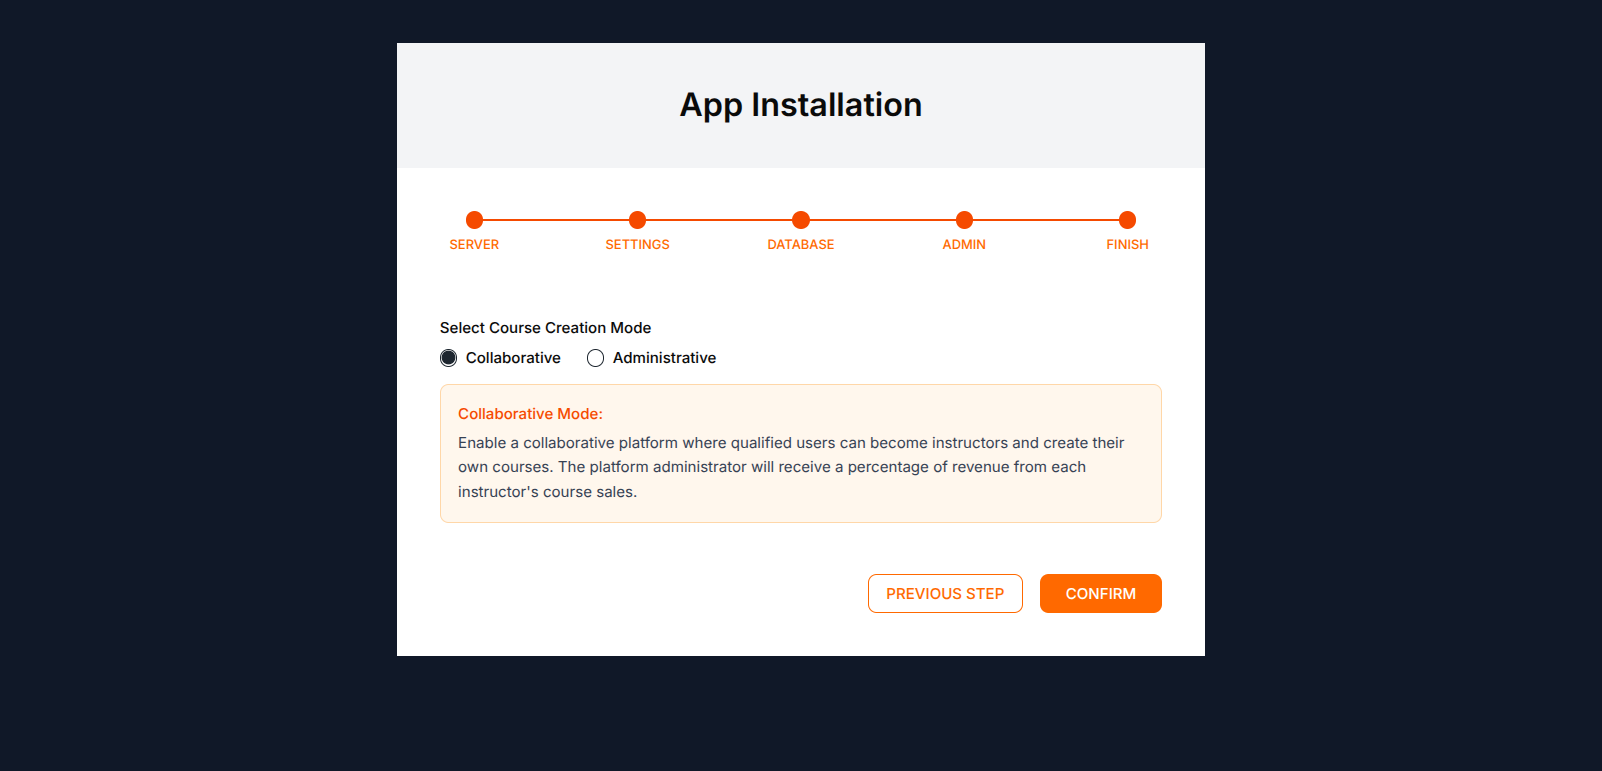
- Administrative Mode: Only administrators can create courses
- Collaborative Mode: Approved instructors can create and sell courses
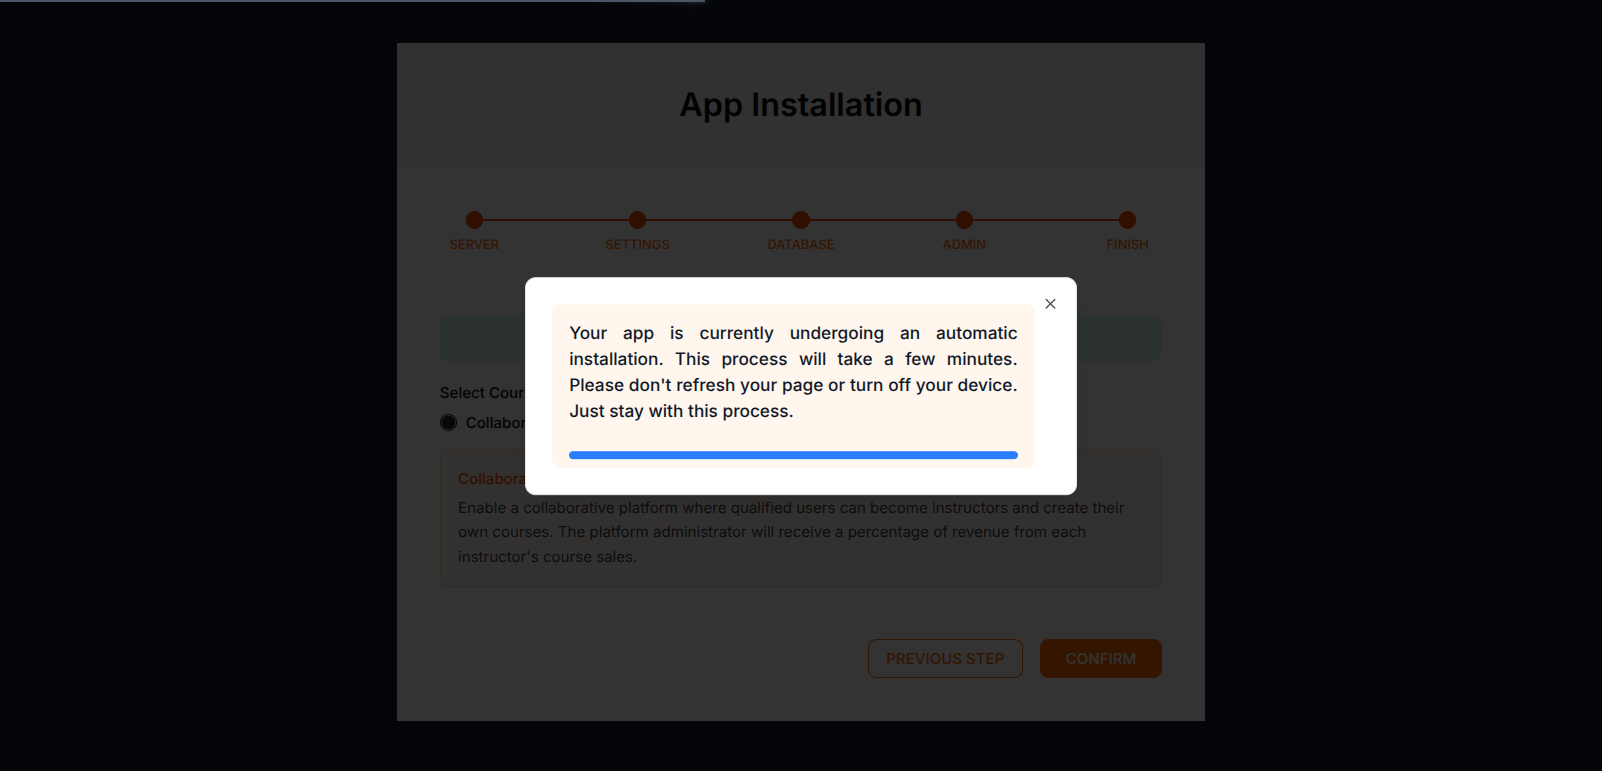
Now you have to finally click on "Confirm" button to complete the installation process. When you will click, you will seed installation completing progress. Once it completed you will redirect to the home page of MentorLMS automatically.
Troubleshooting Installation Issues
If you encounter any issues during installation or if the application doesn't run properly:
Try refreshing the installation:
- Visit:
https://your-domain.com/install/refresh - This will restart the installation process
- Visit:
Still having trouble?
- Clear browser cache and try again
- Check the error logs in
storage/logs/ - Check the
installedfile is exist or not intostorage/app/public/ - If exist, then you have to delete
installedfile fromstorage/app/public/
Contact our support team
- Visit our support page and create a support ticket: Support
- Provide the error details and share the attachments
- Our support team will help you to resolve the issues